The Big Picture
Start using Symfony in 10 minutes! This chapter will walk you through the most important concepts behind Symfony and explain how you can get started quickly by showing you a simple project in action.
If you’ve used a web framework before, you should feel right at home with Symfony. If not, welcome to a whole new way of developing web applications.
The only technical requisite to follow this tutorial is to have PHP 5.4 or higher installed on your computer. If you use a packaged PHP solution such as WAMP, XAMP or MAMP, check out that they are using PHP 5.4 or a more recent version. You can also execute the following command in your terminal or command console to display the installed PHP version:
$ php --version
Installing Symfony
In the past, Symfony had to be installed manually for each new project. Now you can use the Symfony Installer, which has to be installed the very first time you use Symfony on a computer.
On Linux and Mac OS X systems, execute the following console commands:
$ curl -LsS http://symfony.com/installer > symfony.phar
$ sudo mv symfony.phar /usr/local/bin/symfony
$ chmod a+x /usr/local/bin/symfony
注解
If your system doesn’t have cURL installed, execute the following commands instead:
$ php -r "readfile('http://symfony.com/installer');" > symfony.phar
$ sudo mv symfony.phar /usr/local/bin/symfony
$ chmod a+x /usr/local/bin/symfony
After installing the Symfony installer, you’ll have to open a new console window to be able to execute the new symfony command:
$ symfony
On Windows systems, execute the following console command:
c:\> php -r "readfile('http://symfony.com/installer');" > symfony.phar
This command downloads a file called symfony.phar which contains the Symfony installer. Save or move that file to the directory where you create the Symfony projects and then, execute the Symfony installer right away with this command:
c:\> php symfony.phar
Creating Your First Symfony Project
Once the Symfony Installer is set up, use the new command to create new Symfony projects. Let’s create a new project called myproject:
# Linux and Mac OS X
$ symfony new myproject

# Windows
c:\> php symfony.phar new myproject
This command downloads the latest Symfony stable version and creates an empty project in the myproject/ directory so you can start developing your application right away.
Running Symfony
This tutorial leverages the internal web server provided by PHP to run Symfony applications. Therefore, running a Symfony application is a matter of browsing the project directory and executing this command:
$ cd myproject/
$ php app/console server:run
Open your browser and access the http://localhost:8000 URL to see the Welcome page of Symfony:
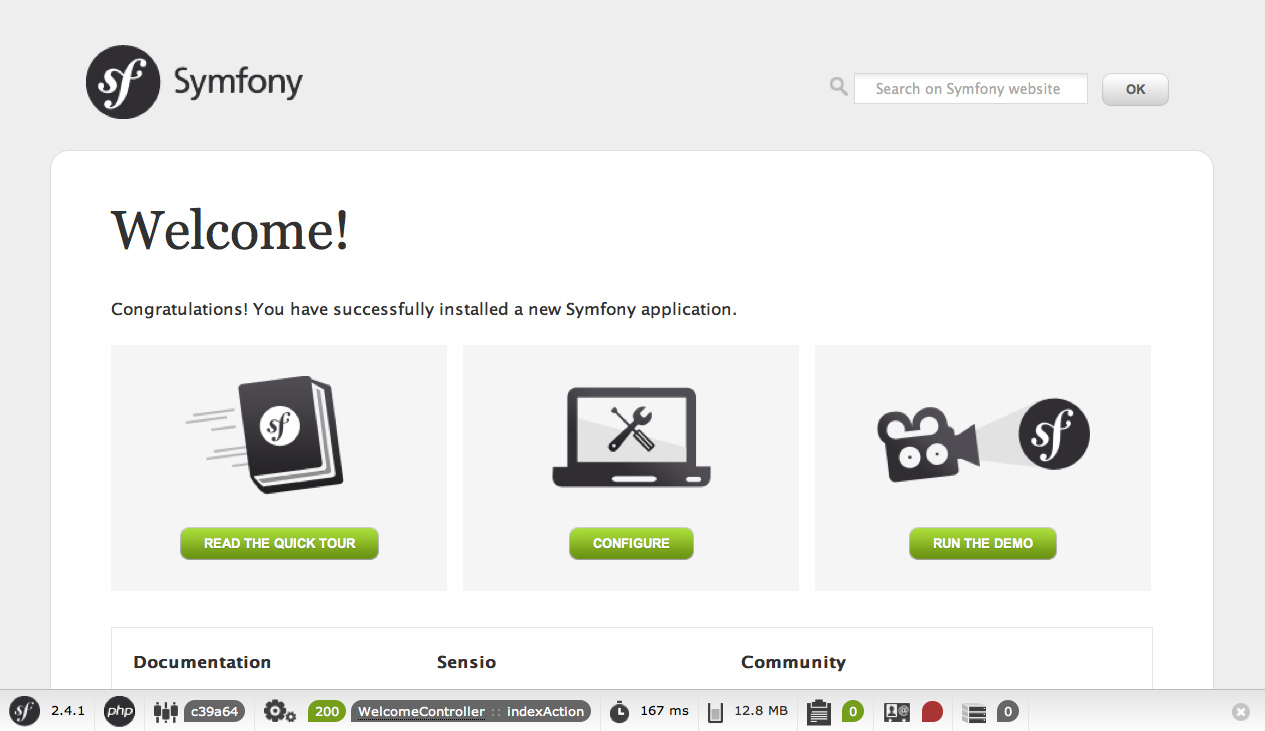
Congratulations! Your first Symfony project is up and running!
注解
Instead of the welcome page, you may see a blank page or an error page. This is caused by a directory permission misconfiguration. There are several possible solutions depending on your operating system. All of them are explained in the Setting up Permissions section of the official book.
When you are finished working on your Symfony application, you can stop the server with the server:stop command:
$ php app/console server:stop
小技巧
If you prefer a traditional web server such as Apache or Nginx, read the Configuring a Web Server article.
Understanding the Fundamentals
One of the main goals of a framework is to keep your code organized and to allow your application to evolve easily over time by avoiding the mixing of database calls, HTML tags and other PHP code in the same script. To achieve this goal with Symfony, you’ll first need to learn a few fundamental concepts.
When developing a Symfony application, your responsibility as a developer is to write the code that maps the user’s request (e.g. http://localhost:8000/) to the resource associated with it (the Welcome to Symfony! HTML page).
The code to execute is defined in actions and controllers. The mapping between user’s requests and that code is defined via the routing configuration. And the contents displayed in the browser are usually rendered using templates.
When you browsed http://localhost:8000/ earlier, Symfony executed the controller defined in the src/AppBundle/Controller/DefaultController.php file and rendered the app/Resources/views/default/index.html.twig template. In the following sections you’ll learn in detail the inner workings of Symfony controllers, routes and templates.
Actions and Controllers
Open the src/AppBundle/Controller/DefaultController.php file and you’ll see the following code (for now, don’t look at the @Route configuration because that will be explained in the next section):
namespace AppBundle\Controller;

use Sensio\Bundle\FrameworkExtraBundle\Configuration\Route;
use Symfony\Bundle\FrameworkBundle\Controller\Controller;

class DefaultController extends Controller
{
    /**
     * @Route("/", name="homepage")
     */
    public function indexAction()
    {
        return $this->render('default/index.html.twig');
    }
}
In Symfony applications, controllers are usually PHP classes whose names are suffixed with the Controller word. In this example, the controller is called Default and the PHP class is called DefaultController.
The methods defined in a controller are called actions, they are usually associated with one URL of the application and their names are suffixed with Action. In this example, the Default controller has only one action called index and defined in the indexAction method.
Actions are usually very short - around 10-15 lines of code - because they just call other parts of the application to get or generate the needed information and then they render a template to show the results to the user.
In this example, the index action is practically empty because it doesn’t need to call any other method. The action just renders a template with the Welcome to Symfony! content.
Routing
Symfony routes each request to the action that handles it by matching the requested URL against the paths configured by the application. Open again the src/AppBundle/Controller/DefaultController.php file and take a look at the three lines of code above the indexAction method:
// src/AppBundle/Controller/DefaultController.php
namespace AppBundle\Controller;

use Sensio\Bundle\FrameworkExtraBundle\Configuration\Route;
use Symfony\Bundle\FrameworkBundle\Controller\Controller;

class DefaultController extends Controller
{
    /**
     * @Route("/", name="homepage")
     */
    public function indexAction()
    {
        return $this->render('default/index.html.twig');
    }
}
These three lines define the routing configuration via the @Route() annotation. A PHP annotation is a convenient way to configure a method without having to write regular PHP code. Beware that annotation blocks start with /**, whereas regular PHP comments start with /*.
The first value of @Route() defines the URL that will trigger the execution of the action. As you don’t have to add the host of your application to the URL (e.g. `http://example.com), these URLs are always relative and they are usually called paths. In this case, the / path refers to the application homepage. The second value of @Route() (e.g. name="homepage") is optional and sets the name of this route. For now this name is not needed, but later it’ll be useful for linking pages.
Considering all this, the @Route("/", name="homepage") annotation creates a new route called homepage which makes Symfony execute the index action of the Default controller when the user browses the / path of the application.
小技巧
In addition to PHP annotations, routes can be configured in YAML, XML or PHP files, as explained in the Routing chapter of the Symfony book. This flexibility is one of the main features of Symfony, a framework that never imposes a particular configuration format on you.
Templates
The only content of the index action is this PHP instruction:
return $this->render('default/index.html.twig');
The $this->render() method is a convenient shortcut to render a template. Symfony provides some useful shortcuts to any controller extending from the Controller class.
By default, application templates are stored in the app/Resources/views/ directory. Therefore, the default/index.html.twig template corresponds to the app/Resources/views/default/index.html.twig. Open that file and you’ll see the following code:
{# app/Resources/views/default/index.html.twig #}
{% extends 'base.html.twig' %}

{% block body %}
    <h1>Welcome to Symfony!</h1>
{% endblock %}
This template is created with Twig, a new template engine created for modern PHP applications. The second part of this tutorial will introduce how templates work in Symfony.
Working with Environments
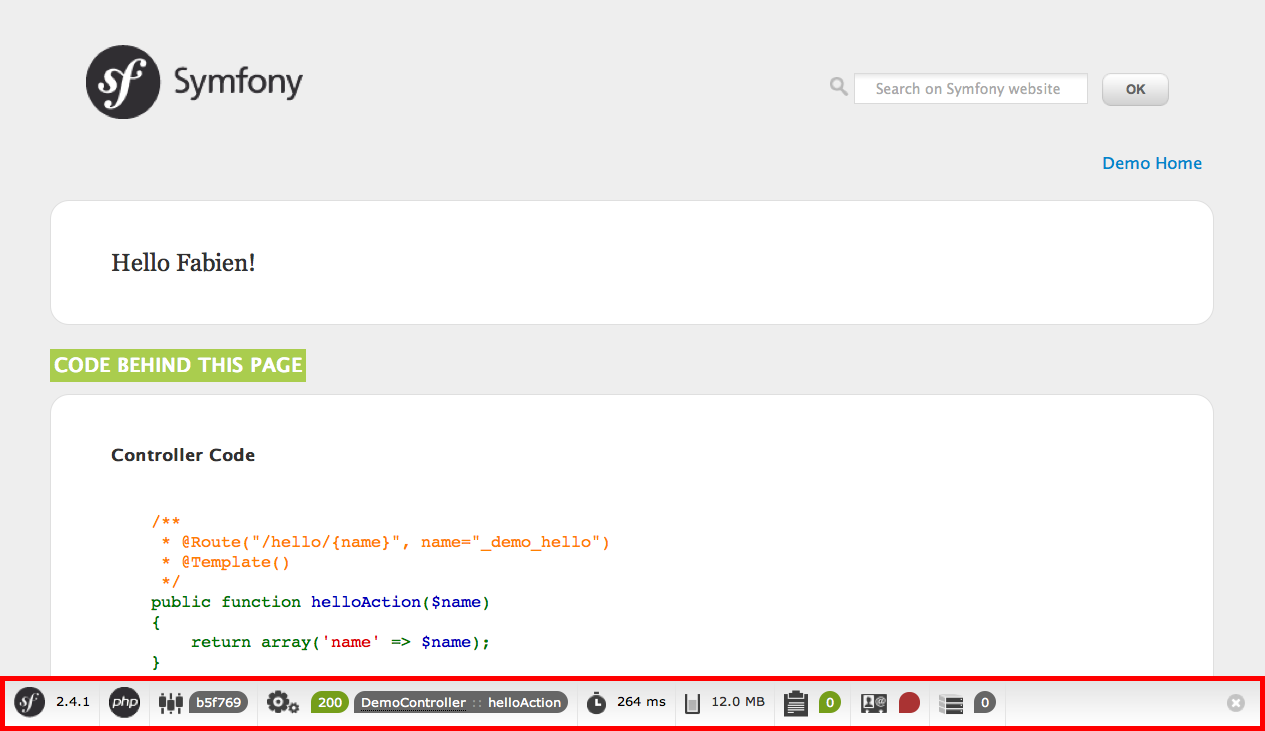
Now that you have a better understanding of how Symfony works, take a closer look at the bottom of any Symfony rendered page. You should notice a small bar with the Symfony logo. This is the “Web Debug Toolbar”, and it is a Symfony developer’s best friend!
But what you see initially is only the tip of the iceberg; click on any of the bar sections to open the profiler and get much more detailed information about the request, the query parameters, security details, and database queries:
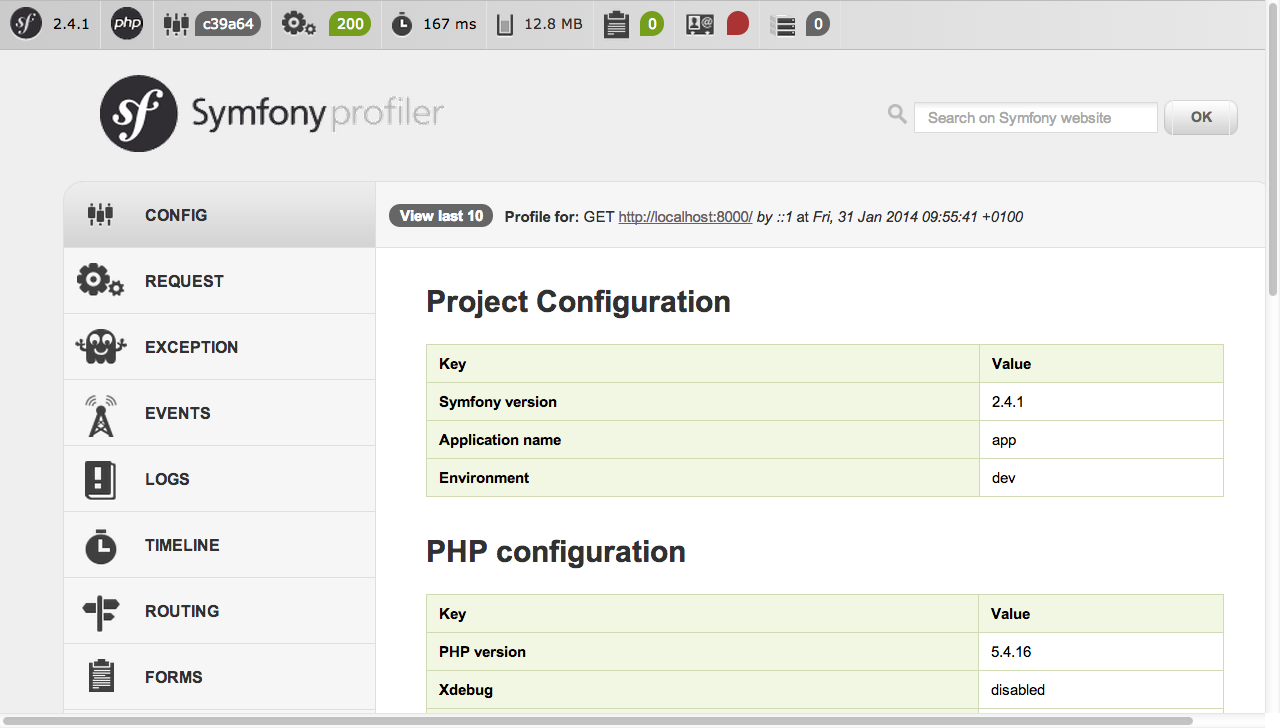
This tool provides so much internal information about your application that you may be worried about your visitors accessing sensible information. Symfony is aware of this issue and for that reason, it won’t display this bar when your application is running in the production server.
How does Symfony know whether your application is running locally or on a production server? Keep reading to discover the concept of execution environments.
What is an Environment?
An Environment represents a group of configurations that’s used to run your application. Symfony defines two environments by default: dev (suited for when developing the application locally) and prod (optimized for when executing the application on production).
When you visit the http://localhost:8000 URL in your browser, you’re executing your Symfony application in the dev environment. To visit your application in the prod environment, visit the http://localhost:8000/app.php URL instead. If you prefer to always show the dev environment in the URL, you can visit http://localhost:8000/app_dev.php URL.
The main difference between environments is that dev is optimized to provide lots of information to the developer, which means worse application performance. Meanwhile, prod is optimized to get the best performance, which means that debug information is disabled, as well as the Web Debug Toolbar.
The other difference between environments is the configuration options used to execute the application. When you access the dev environment, Symfony loads the app/config/config_dev.yml configuration file. When you access the prod environment, Symfony loads app/config/config_prod.yml file.
Typically, the environments share a large amount of configuration options. For that reason, you put your common configuration in config.yml and override the specific configuration file for each environment where necessary:
# app/config/config_dev.yml
imports:
    - { resource: config.yml }

web_profiler:
    toolbar: true
    intercept_redirects: false
In this example, the config_dev.yml configuration file imports the common config.yml file and then overrides any existing web debug toolbar configuration with its own options.
For more details on environments, see “Environments & Front Controllers” article.
Final Thoughts
Congratulations! You’ve had your first taste of Symfony code. That wasn’t so hard, was it? There’s a lot more to explore, but you should already see how Symfony makes it really easy to implement web sites better and faster. If you are eager to learn more about Symfony, dive into the next section: “The View”.