Installing and Configuring Symfony
The goal of this chapter is to get you up and running with a working application built on top of Symfony. In order to simplify the process of creating new applications, Symfony provides an installer that must be installed before creating the first application.
Installing the Symfony Installer
Using the Symfony Installer is the only recommended way to create new Symfony applications. This installer is a PHP application that has to be installed only once and then it can create any number of Symfony applications.
注解
The installer requires PHP 5.4 or higher. If you still use the legacy PHP 5.3 version, you cannot use the Symfony Installer. Read the Creating Symfony Applications without the Installer section to learn how to proceed.
Depending on your operating system, the installer must be installed in different ways.
Linux and Mac OS X Systems
Open your command console and execute the following three commands:
$ curl -LsS http://symfony.com/installer > symfony.phar
$ sudo mv symfony.phar /usr/local/bin/symfony
$ chmod a+x /usr/local/bin/symfony
This will create a global symfony command in your system that will be used to create new Symfony applications.
Windows Systems
Open your command console and execute the following command:
c:\> php -r "readfile('http://symfony.com/installer');" > symfony.phar
Then, move the downloaded symfony.phar file to your projects directory and execute it as follows:
c:\> move symfony.phar c:\projects
c:\projects\> php symfony.phar
Creating the Symfony Application
Once the Symfony Installer is ready, create your first Symfony application with the new command:
# Linux, Mac OS X
$ symfony new my_project_name

# Windows
c:\> cd projects/
c:\projects\> php symfony.phar new my_project_name
This command creates a new directory called my_project_name that contains a fresh new project based on the most recent stable Symfony version available. In addition, the installer checks if your system meets the technical requirements to execute Symfony applications. If not, you’ll see the list of changes needed to meet those requirements.
小技巧
For security reasons, all Symfony versions are digitally signed before distributing them. If you want to verify the integrity of any Symfony version, follow the steps explained in this post.
Basing your Project on a Specific Symfony Version
If your project needs to be based on a specific Symfony version, pass the version number as the second argument of the new command:
# Linux, Mac OS X
$ symfony new my_project_name 2.3.23

# Windows
c:\projects\> php symfony.phar new my_project_name 2.3.23
Read the Symfony Release process to better understand why there are several Symfony versions and which one to use for your projects.
Creating Symfony Applications without the Installer
If you still use PHP 5.3, or if you can’t execute the installer for any reason, you can create Symfony applications using the alternative installation method based on Composer.
Composer is the dependency manager used by modern PHP applications and it can also be used to create new applications based on the Symfony framework. If you don’t have installed it globally, start by reading the next section.
Installing Composer Globally
Start with installing Composer globally.
Creating a Symfony Application with Composer
Once Composer is installed on your computer, execute the create-project command to create a new Symfony application based on its latest stable version:
$ composer create-project symfony/framework-standard-edition my_project_name
If you need to base your application on a specific Symfony version, provide that version as the second argument of the create-project command:
$ composer create-project symfony/framework-standard-edition my_project_name "2.3.*"
小技巧
If your Internet connection is slow, you may think that Composer is not doing anything. If that’s your case, add the -vvv flag to the previous command to display a detailed output of everything that Composer is doing.
Running the Symfony Application
Symfony leverages the internal web server provided by PHP to run applications while developing them. Therefore, running a Symfony application is a matter of browsing the project directory and executing this command:
$ cd my_project_name/
$ php app/console server:run
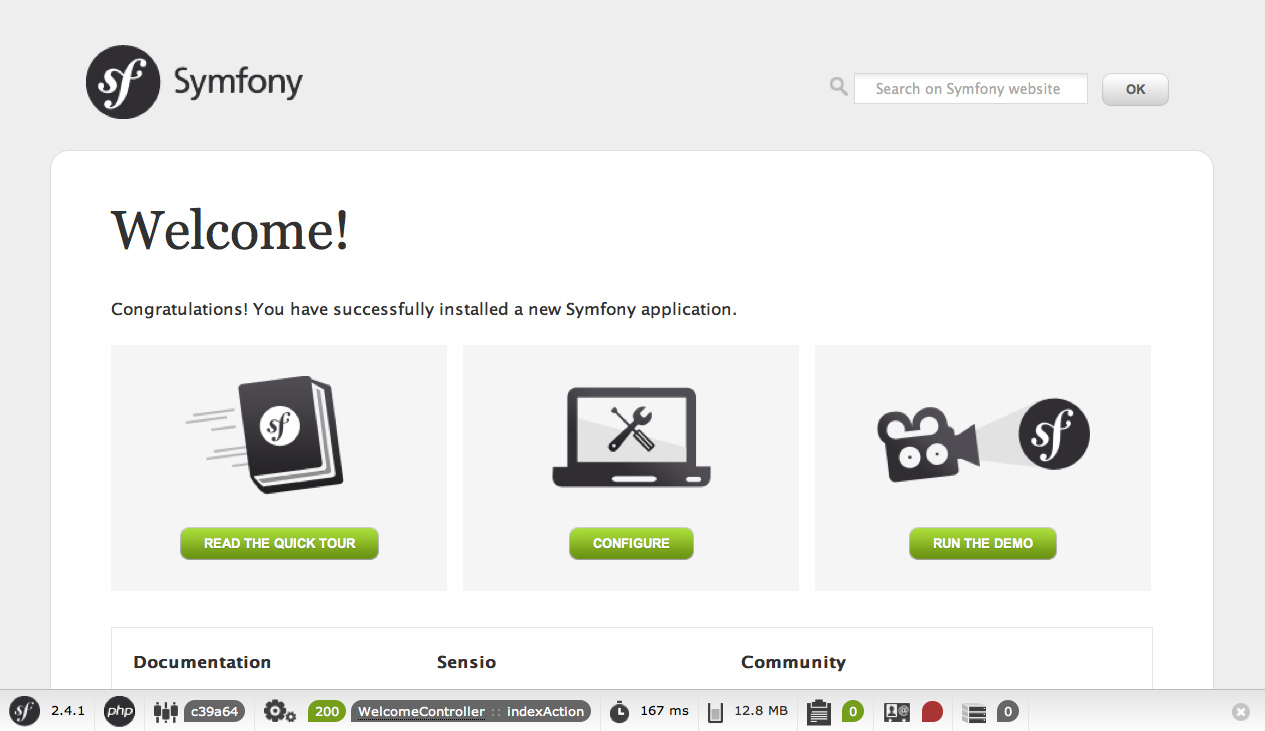
Then, open your browser and access the http://localhost:8000 URL to see the Welcome page of Symfony:
Instead of the Welcome Page, you may see a blank page or an error page. This is caused by a directory permission misconfiguration. There are several possible solutions depending on your operating system. All of them are explained in the Setting up Permissions section.
注解
PHP’s internal web server is available in PHP 5.4 or higher versions. If you still use the legacy PHP 5.3 version, you’ll have to configure a virtual host in your web server.
The server:run command is only suitable while developing the application. In order to run Symfony applications on production servers, you’ll have to configure your Apache or Nginx web server as explained in Configuring a Web Server.
When you are finished working on your Symfony application, you can stop the server with the server:stop command:
$ php app/console server:stop
Checking Symfony Application Configuration and Setup
Symfony applications come with a visual server configuration tester to show if your environment is ready to use Symfony. Access the following URL to check your configuration:
http://localhost:8000/config.php
If there are any issues, correct them now before moving on.
Updating Symfony Applications
At this point, you’ve created a fully-functional Symfony application in which you’ll start to develop your own project. A Symfony application depends on a number of external libraries. These are downloaded into the vendor/ directory and they are managed exclusively by Composer.
Updating those third-party libraries frequently is a good practice to prevent bugs and security vulnerabilities. Execute the update Composer command to update them all at once:
$ cd my_project_name/
$ composer update
Depending on the complexity of your project, this update process can take up to several minutes to complete.
Installing a Symfony Distribution
Symfony project packages “distributions”, which are fully-functional applications that include the Symfony core libraries, a selection of useful bundles, a sensible directory structure and some default configuration. In fact, when you created a Symfony application in the previous sections, you actually downloaded the default distribution provided by Symfony, which is called Symfony Standard Edition.
The Symfony Standard Edition is by far the most popular distribution and it’s also the best choice for developers starting with Symfony. However, the Symfony Community has published other popular distributions that you may use in your applications:
- The Symfony CMF Standard Edition is the best distribution to get started with the Symfony CMF project, which is a project that makes it easier for developers to add CMS functionality to applications built with the Symfony framework.
- The Symfony REST Edition shows how to build an application that provides a RESTful API using the FOSRestBundle and several other related bundles.
Using Source Control
If you’re using a version control system like Git, you can safely commit all your project’s code. The reason is that Symfony applications already contain a .gitignore file specially prepared for Symfony.
For specific instructions on how best to set up your project to be stored in Git, see How to Create and Store a Symfony Project in Git.
Checking out a versioned Symfony Application
When using Composer to manage application’s dependencies, it’s recommended to ignore the entire vendor/ directory before committing its code to the repository. This means that when checking out a Symfony application from a Git repository, there will be no vendor/ directory and the application won’t work out-of-the-box.
In order to make it work, check out the Symfony application and then execute the install Composer command to download and install all the dependencies required by the application:
$ cd my_project_name/
$ composer install
How does Composer know which specific dependencies to install? Because when a Symfony application is committed to a repository, the composer.json and composer.lock files are also committed. These files tell Composer which dependencies (and which specific versions) to install for the application.
Beginning Development
Now that you have a fully-functional Symfony application, you can begin development! Your distribution may contain some sample code - check the README.md file included with the distribution (open it as a text file) to learn about what sample code was included with your distribution.
If you’re new to Symfony, check out “Creating Pages in Symfony”, where you’ll learn how to create pages, change configuration, and do everything else you’ll need in your new application.
Be sure to also check out the Cookbook, which contains a wide variety of articles about solving specific problems with Symfony.
注解
If you want to remove the sample code from your distribution, take a look at this cookbook article: “How to Remove the AcmeDemoBundle“